Let's Explore: Norton Utilities v7.00 - Part 2
In Part 1 we went through an overview of this excellent suite of tools for DOS. In this part 2, we'll install the product and start taking a look at it. As always, this is being done on real hardware, not emulation.
Installation
Norton Utilities 7.00 came on three 3.5" 1.44 MB floppy disks for the core product, and two more emergency/recovery disks. As I mentioned in part 1, you can simply run these utilities from the floppy disk, but it's more convenient to have them all in one place on your hard disk.
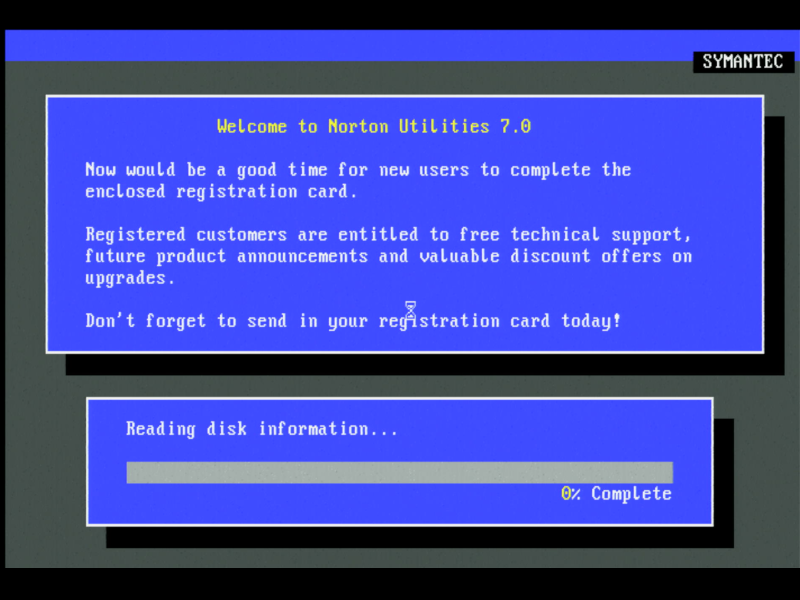
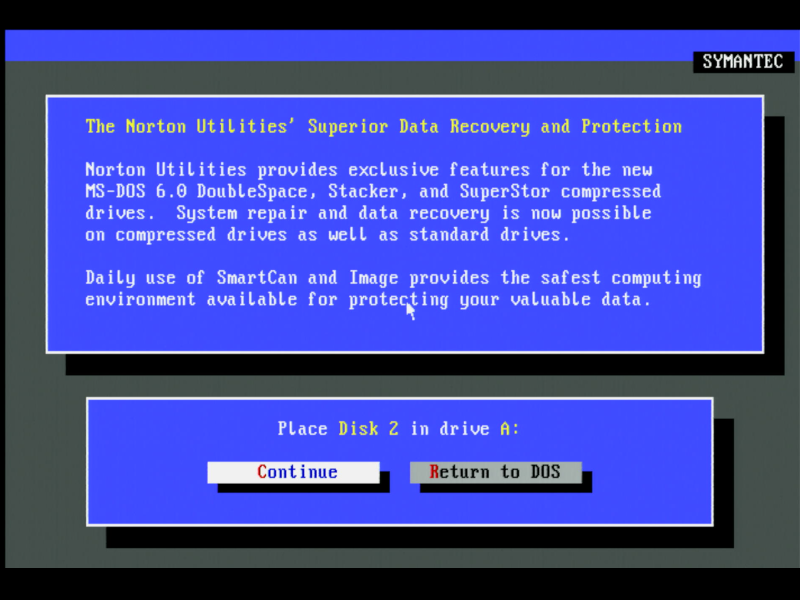
To begin the installation, insert disk 1 and run INSTALL.EXE:
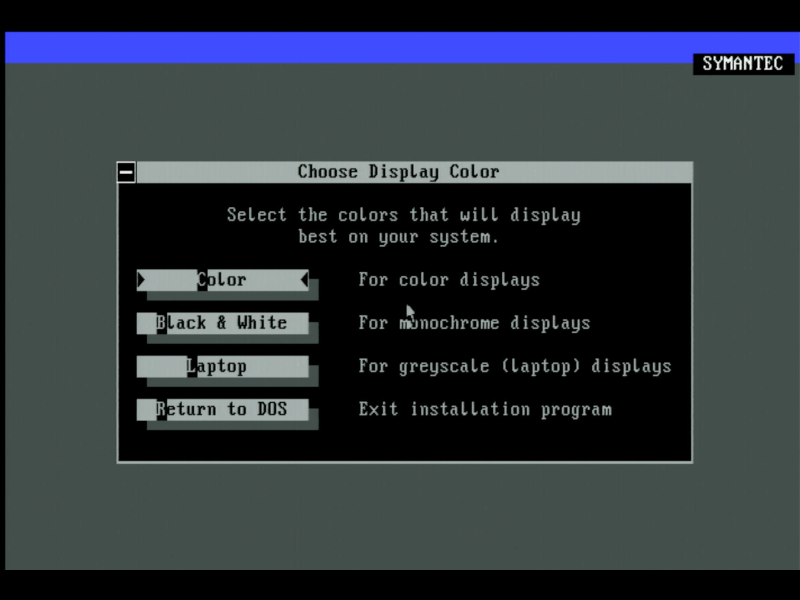
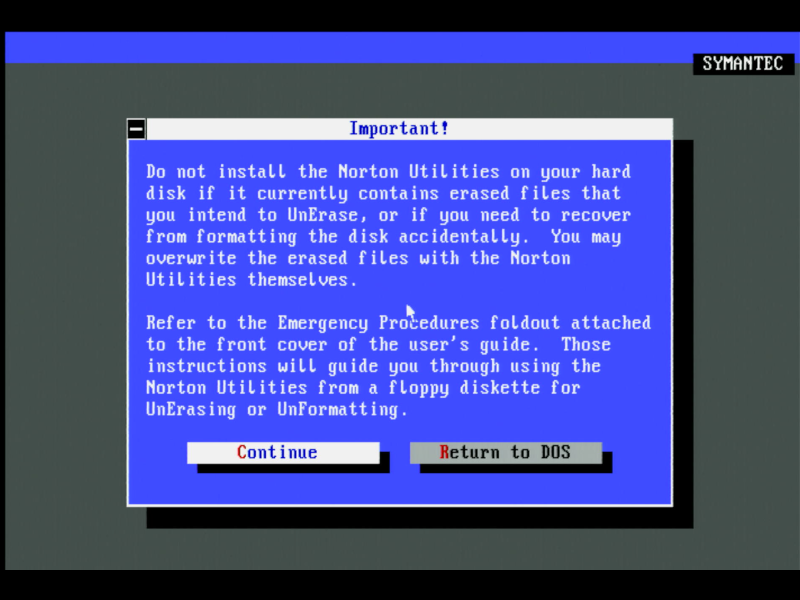
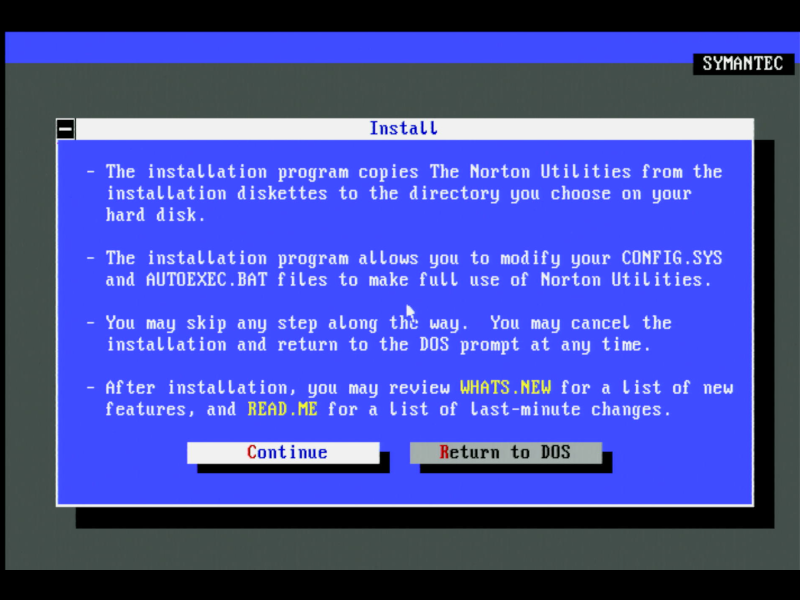
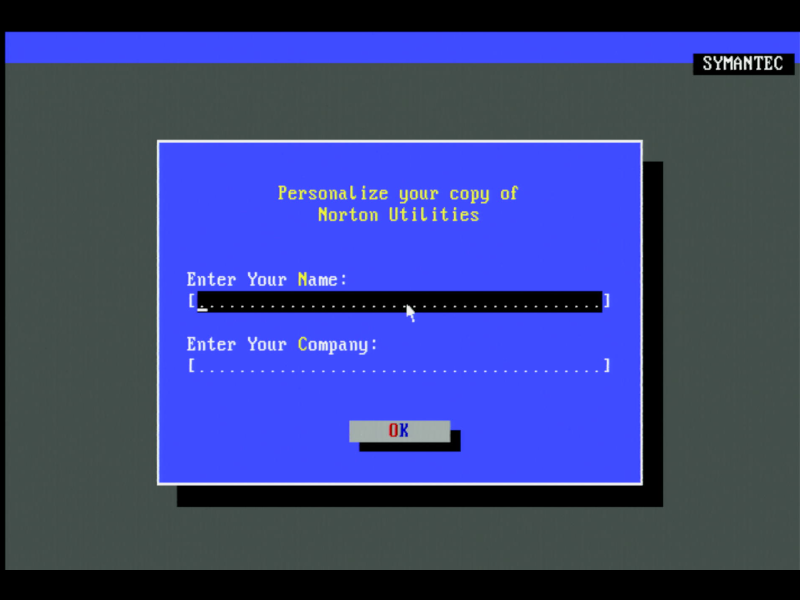
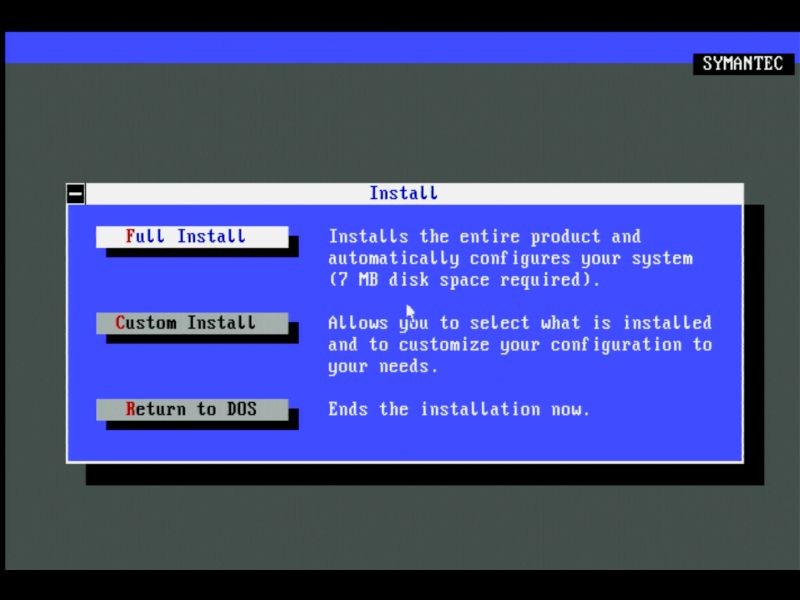
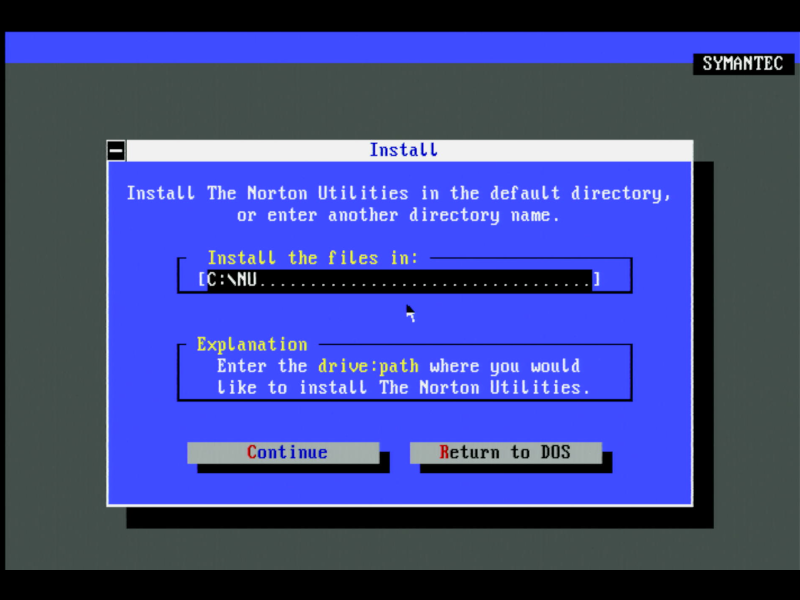
If you choose a Custom Install, you can then choose which components to install:
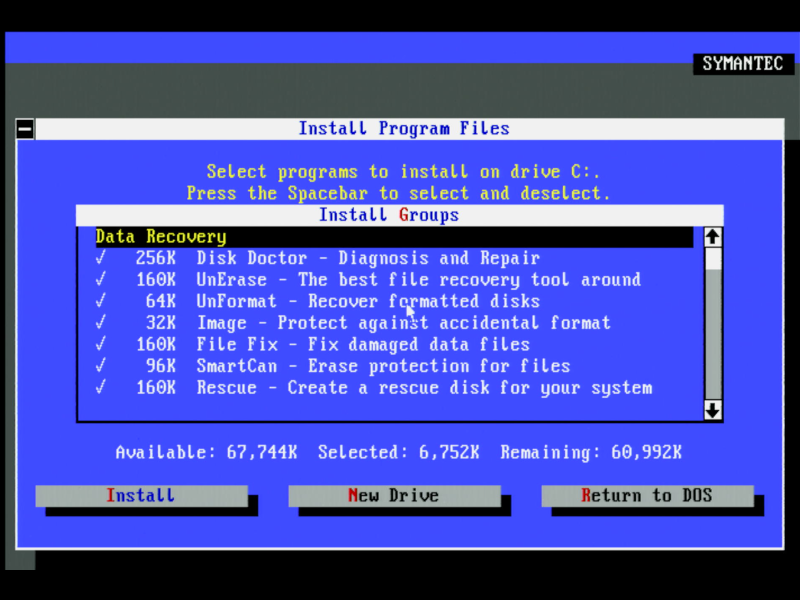
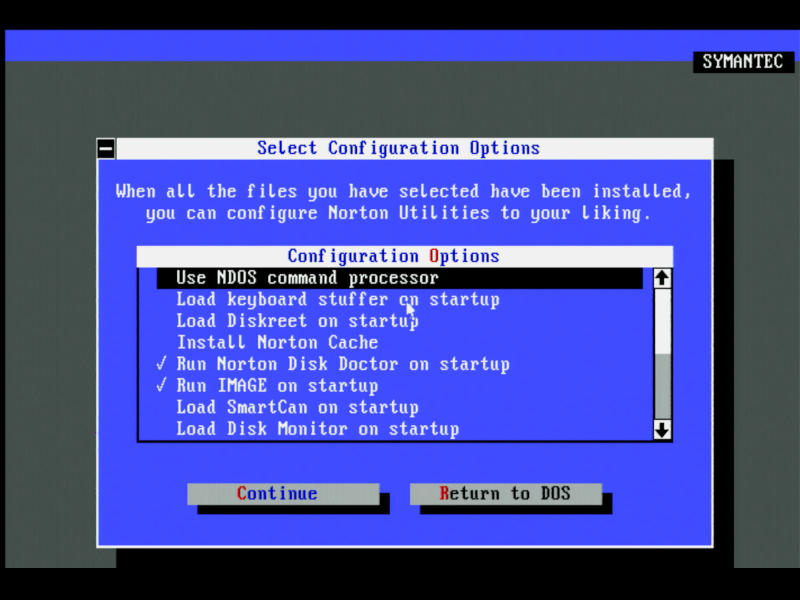
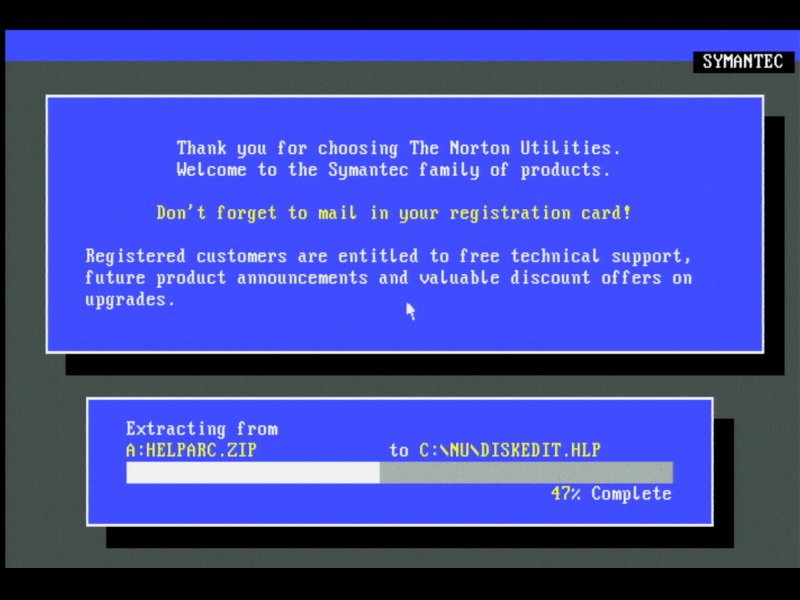
The destination drive is checked for errors before the installation begins. If any errors are found, you're taken through Norton Disk Doctor to fix them before copying commences.
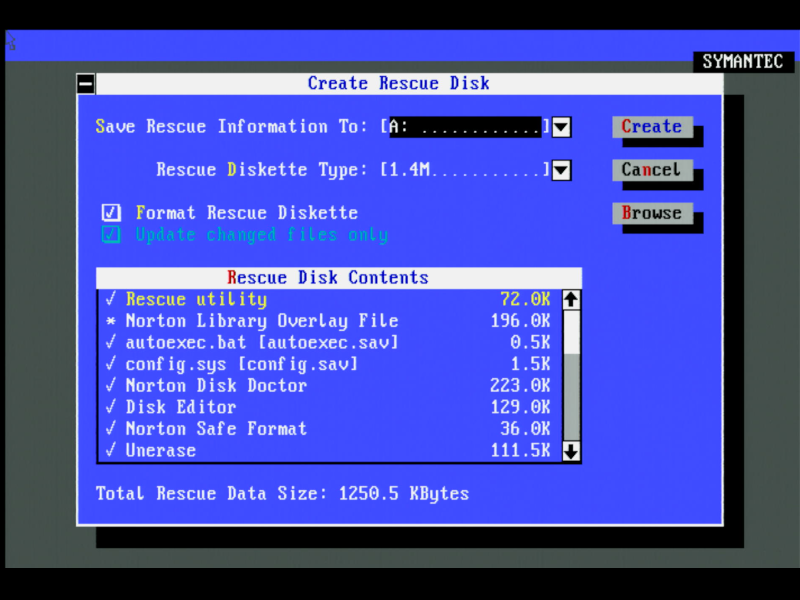
You then choose if you want your startup files (CONFIG.SYS and AUTOEXEC.BAT) to be updated to automatically start certain tools, and then optionally create a Rescue Disk:
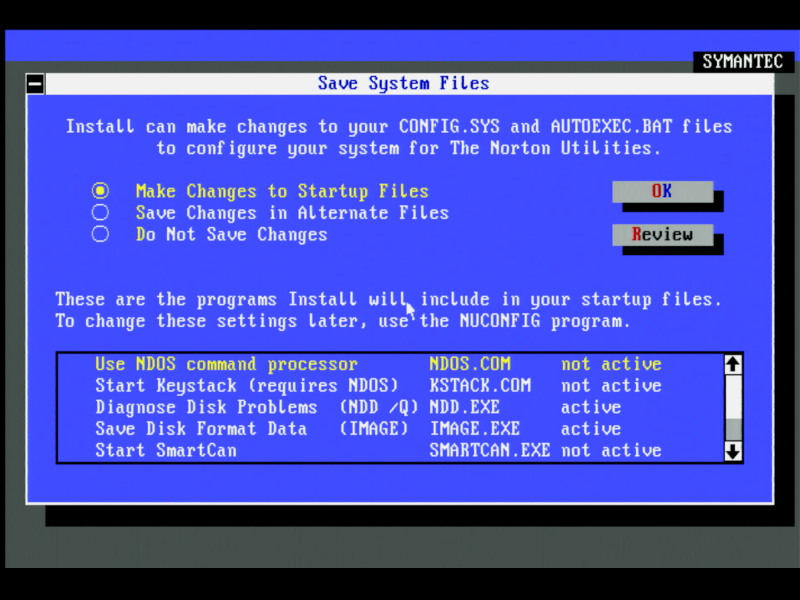
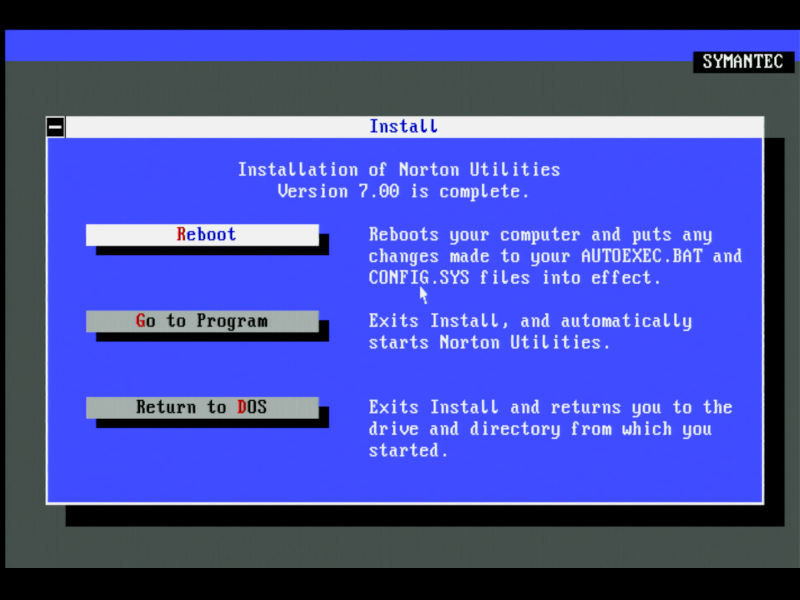
By default, Norton Utilities will add two commands to AUTOEXEC.BAT:
- Norton Disk Doctor will perform a quick check of the disk.
- Image will create/update the hard disk image file that is placed on the last sector of the drive. This file helps recover a hard disk that has been accidentally formatted.
As we go through the various tools, it's worth noting that running them through the NORTON.EXE menu-driven front end is worthwhile, as it allows you to quickly view the available command-line switches for each utility and apply them before they are run. This works in a similar way Norton Integrator did in Norton Utilities v4.5.
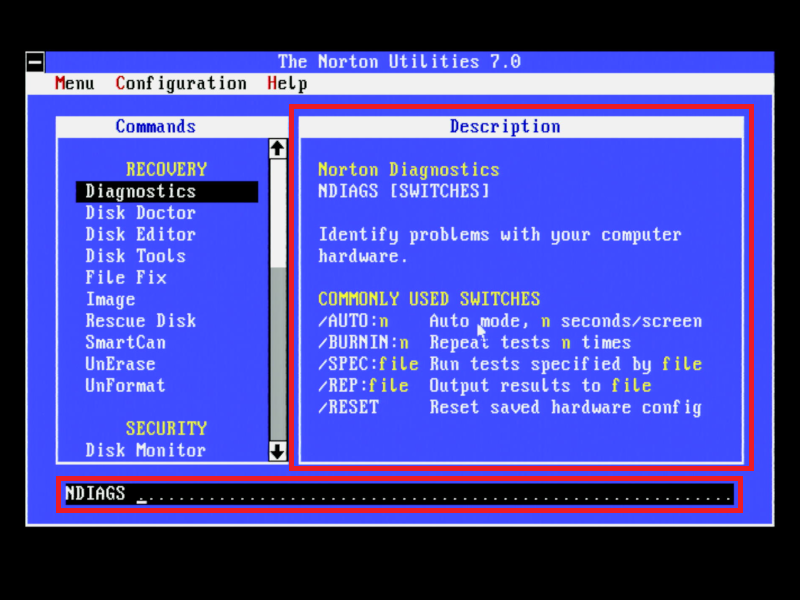
Data Recovery Tools
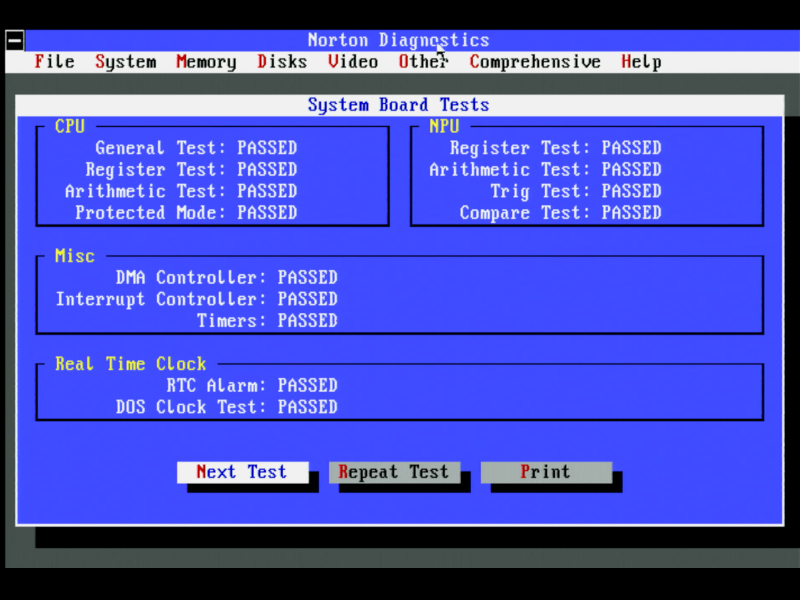
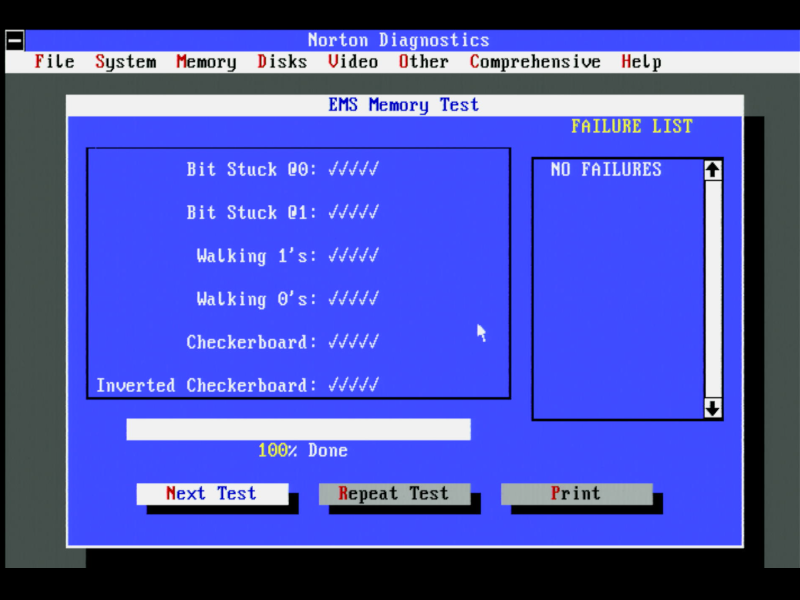
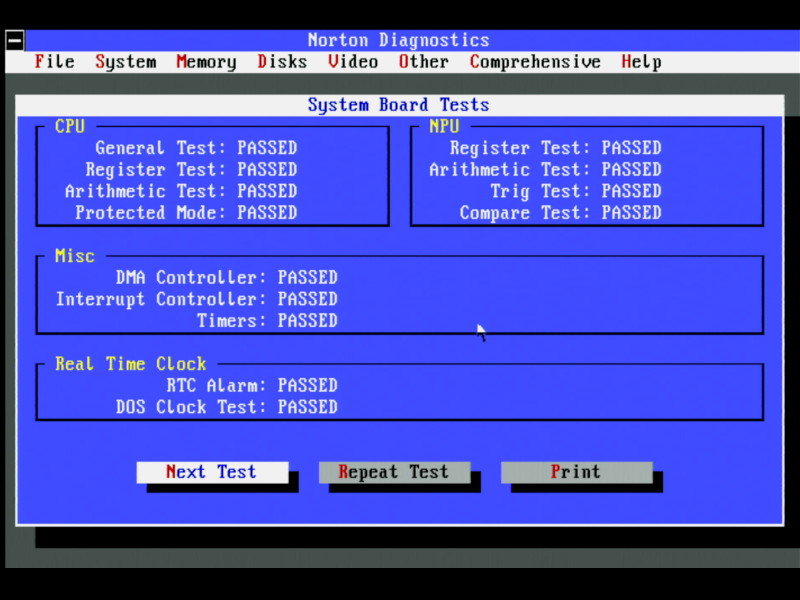
Norton Diagnostics is similar to Check-It, providing you with system information and a good suite of tests you can run to ensure your hardware is fully operational. If you have external loopback connectors for serial and parallel ports, these can be installed for a more thorough test:
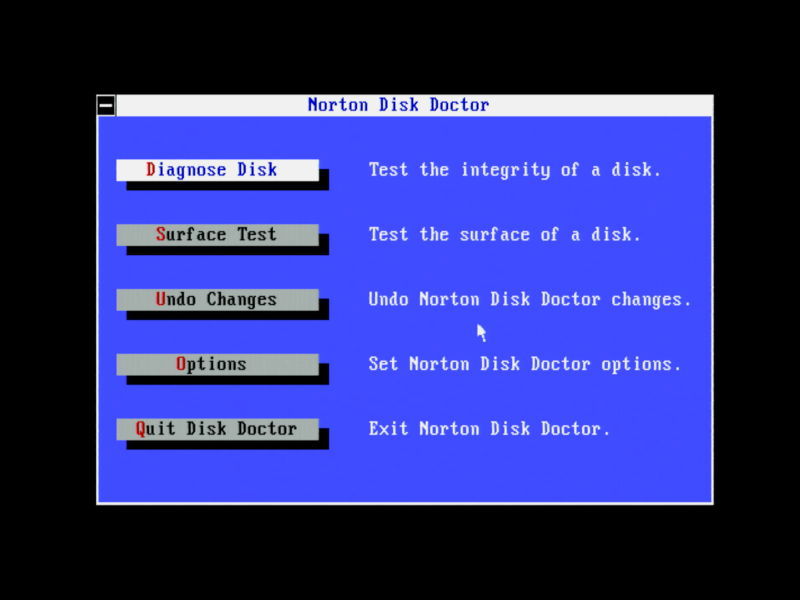
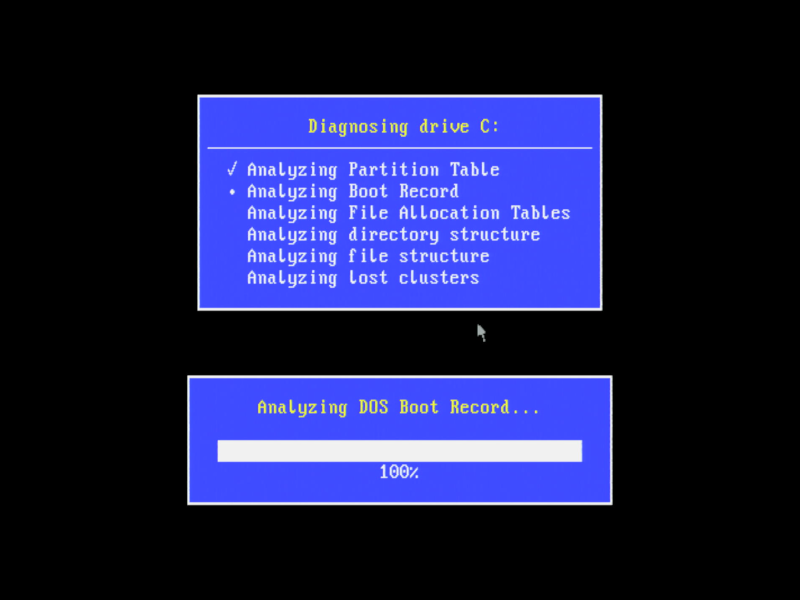
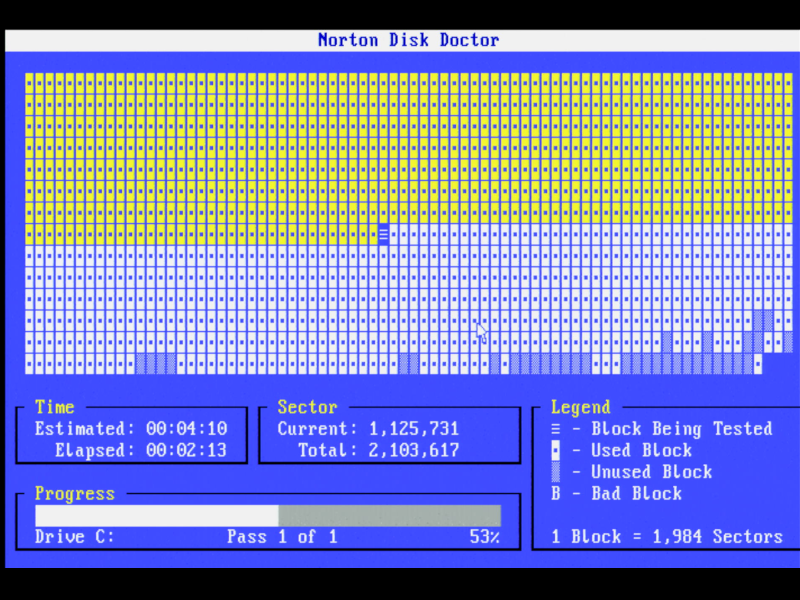
Norton Disk Doctor runs a thorough check-up of your floppy disk or hard disk, including the boot record, file allocation tables, directory structures, file integrity, lost clusters, and a surface scan:
Disk Editor is for more advanced users who understand the structure of how data is stored. It allows you to visually see the raw data:
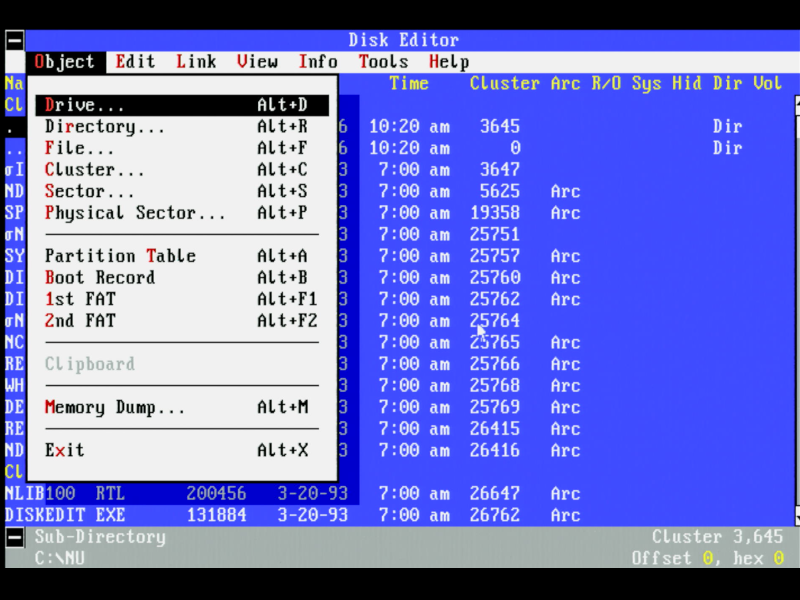
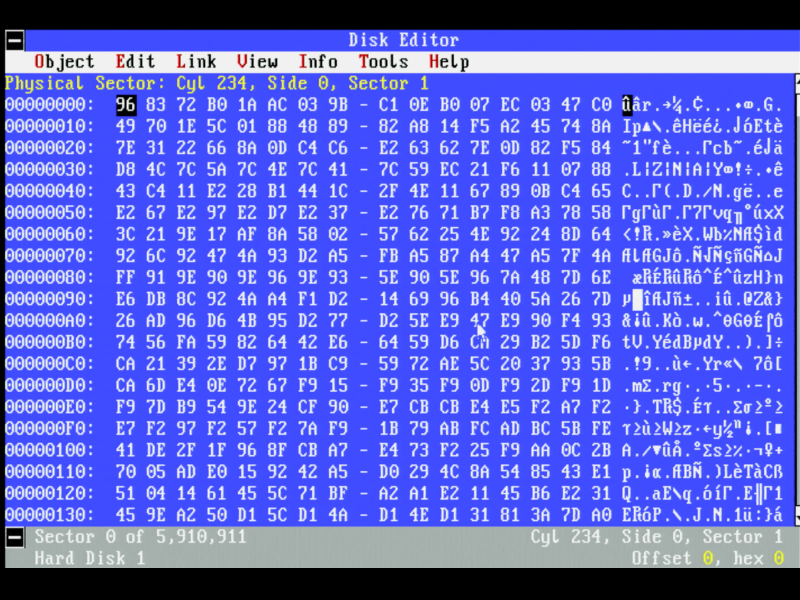
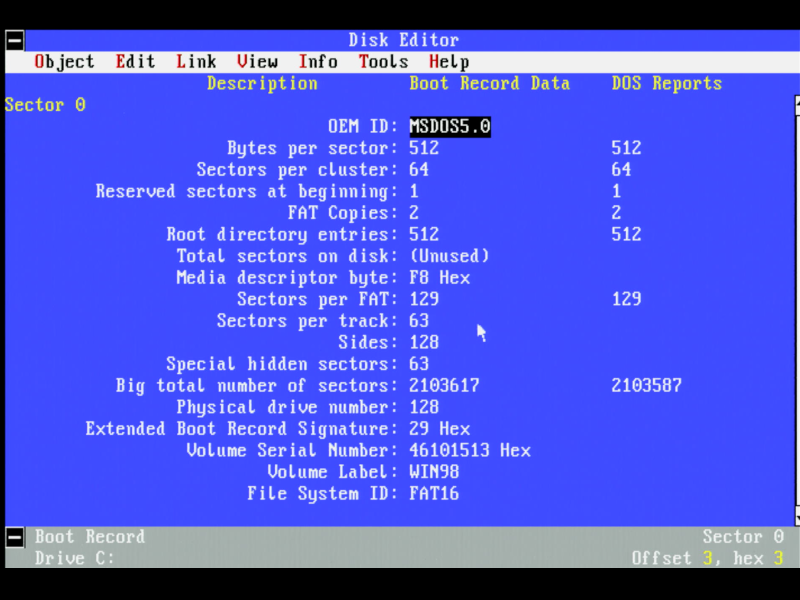
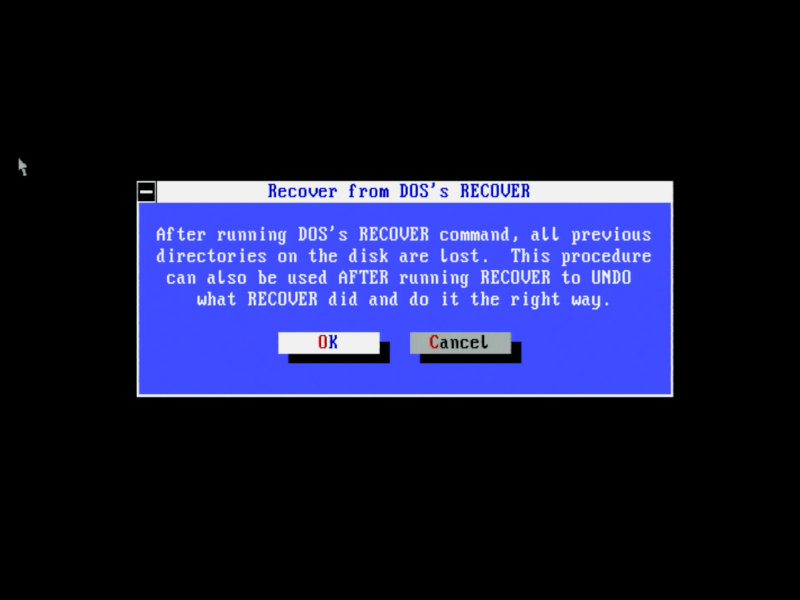
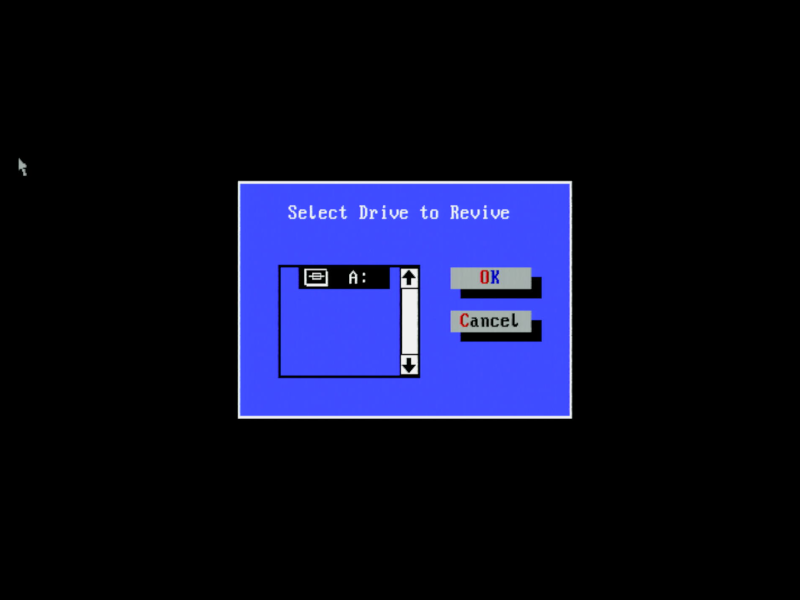
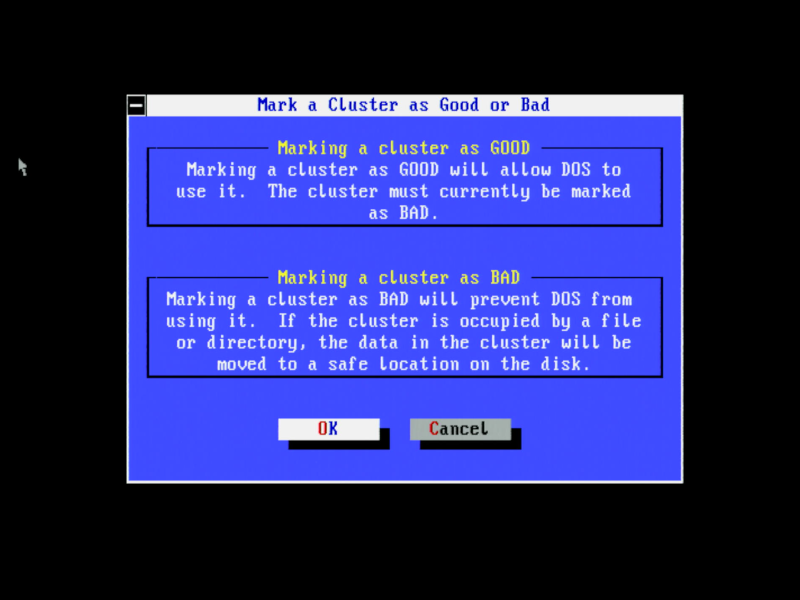
Disk Tools is a set of four utilities to make a disk (floppy or hard disk) bootable, rebuild files after running DOS's RECOVER command (which leaves a bunch of cryptic files in the root of the drive), revive a defective diskette, and mark a cluster as usable or not usable:
File Fix is a utility that can repair corrupted files created using some applications. It's limited to the ones shown here (Quattro Pro, WordPerfect, and Microsoft Excel are the new ones added in version 7.0):
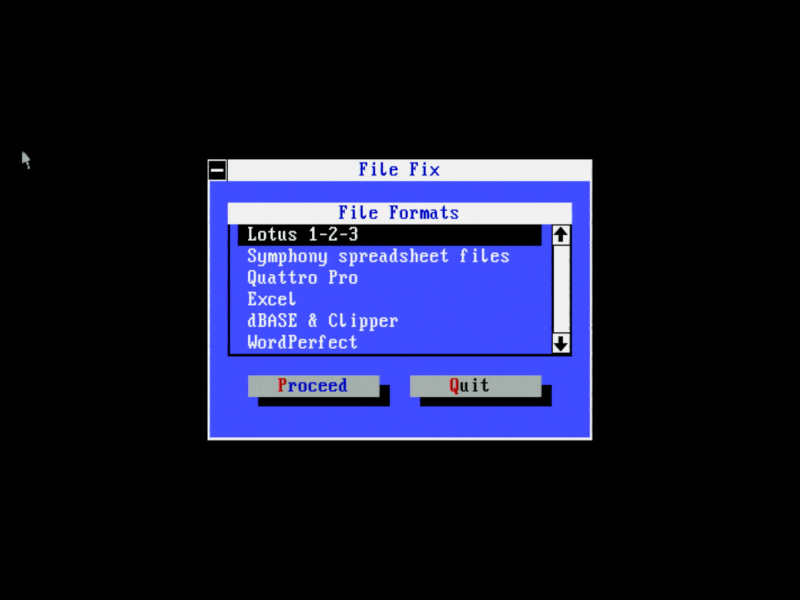
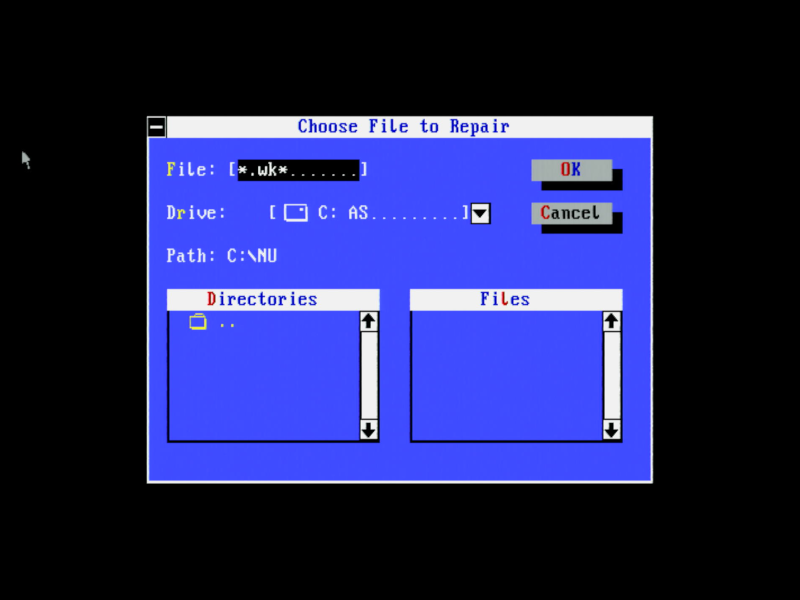
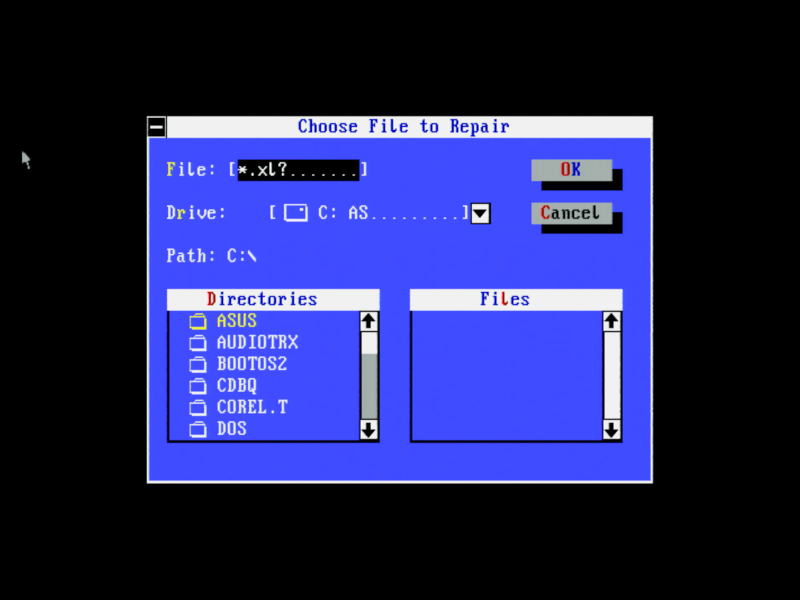
Image takes a snapshot of key information about your drive to ensure any accidental formatting can be recovered.
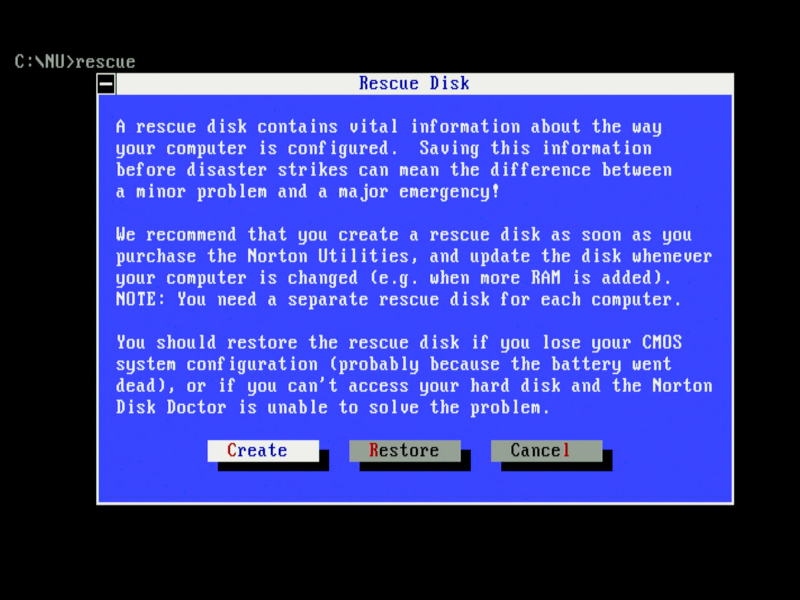
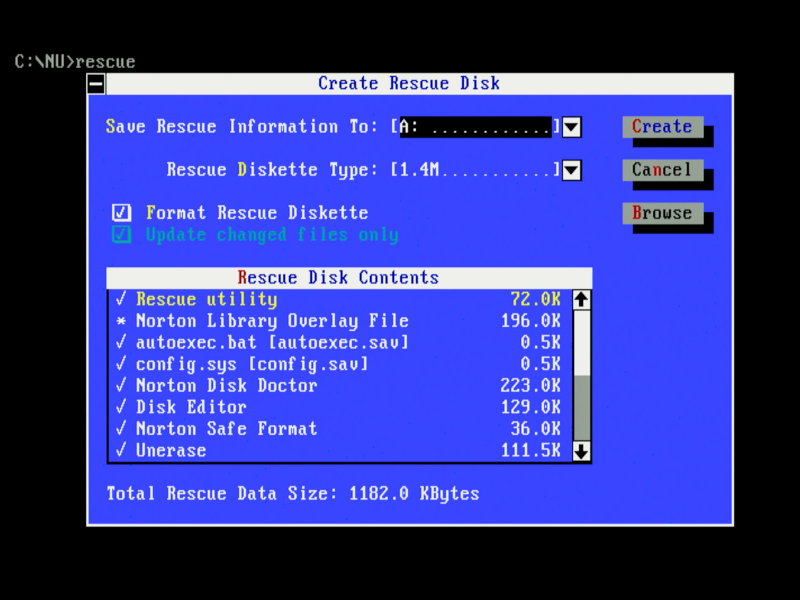
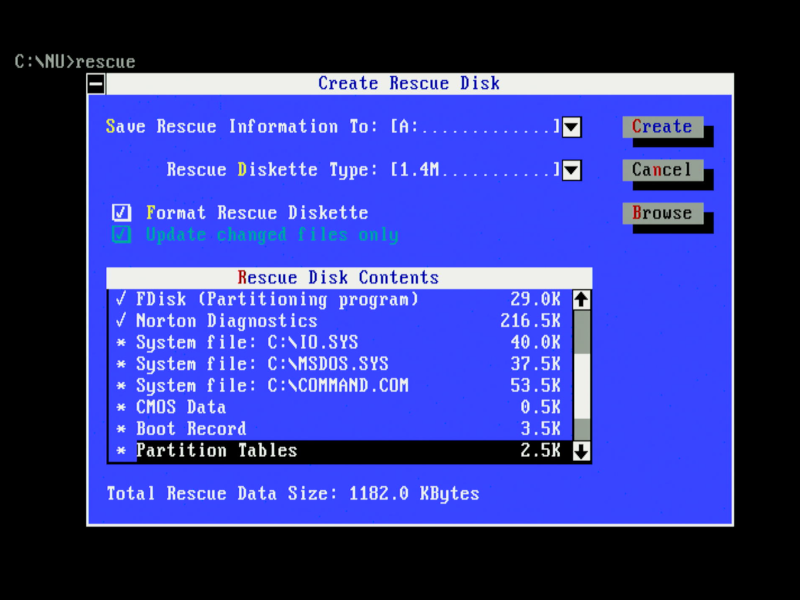
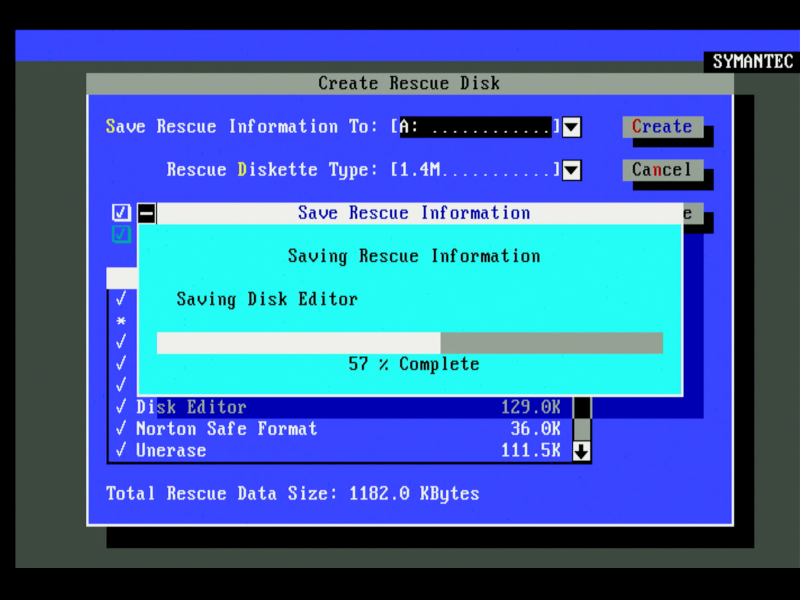
Rescue Disk can be used to create a "rescue disk" or restore your system setup using one. If you've lost your CMOS settings, partition table information, or boot sectors have been lost, a rescue disk can put that configuration back. On the Rescue disk is stored the following:
- CMOS configuration (including the all-important hard disk configuration)
- Boot record - used to identify a disk to DOS. The boot sector contains information DOS uses to know the capacity and organisational structure of the hard disk.
- Partition tables - a copy of the hard disk partition tables
- Startup files - AUTOEXEC.BAT and CONFIG.SYS
- Other files - Rescue, Norton Disk Doctor, Safe Format, Norton Diagnostics, UnErase, and UnFormat.
SmartCan is like the recycle bin in Windows to protect against accidentally deleted files. Unerase can be used to recover deleted files. When a file is deleted in DOS, it's not immediately overwritten. Instead it's entry in the FAT is marked as deleted so it doesn't appear in directory listings. If you subsequently do any writes to that disk there's a chance it will fully write over those sectors and it cannot be recovered, so it's important to recognise your mistake as soon as possible and run Unerase to recover it. Unformat can restore from an accidental formatting of a floppy or hard disk. Use it in conjunction with Image to be sure you can recover your data:
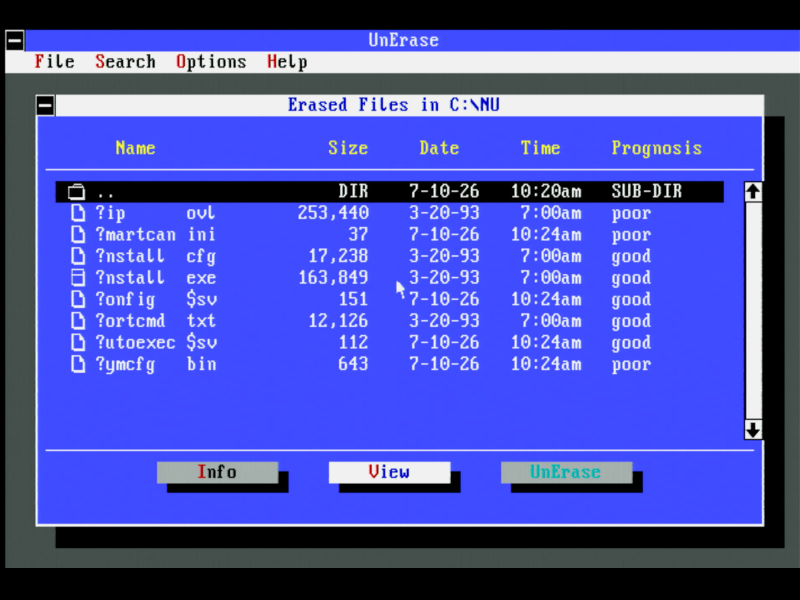
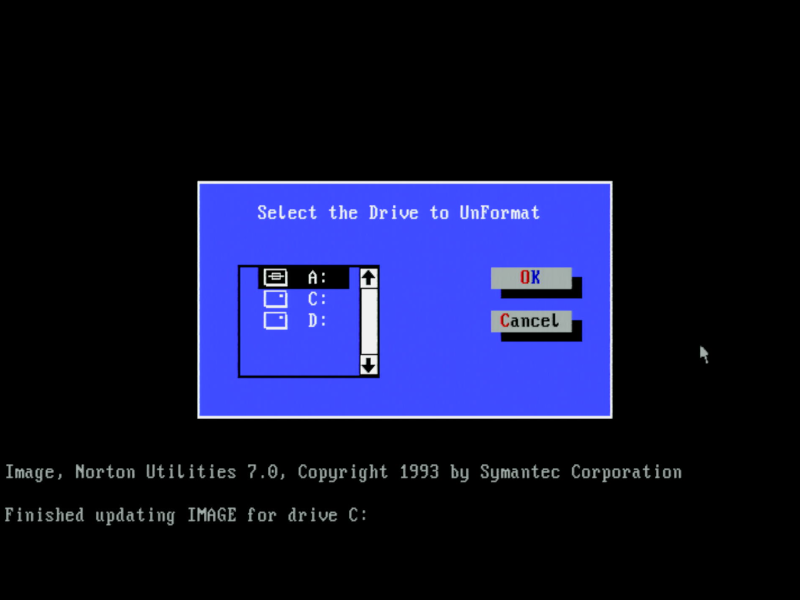
The UnErase and UnFormat utilities
In Part 3, we'll move to the Security and Speed tools.