2D and 3D Graphics Card Technology
In part 1 I started with the 1980s transition from MDA, CGA and EGA into the VGA era, and then with the VESA VBE standards, seeing how VGA got extended to support "Super VGA" resolutions.
The Move to 2D Graphics Acceleration
The term graphics accelerator started cropping up during the Windows 3.0 time period around 1991. SVGA cards at the time worked on the basis of a simple framebuffer with minimal built-in processing capability. Moving a graphical image from one part of the screen to another (such as moving a window in Microsoft Windows) involved the CPU reading data from the video framebuffer via the ISA bus, into main memory, and then writing it back again via the ISA bus. Use of the slow ISA bus was the real bottleneck here, and was made worse the higher the resolution, since more pixels needed to be moved, and hence more data had to be read and written.
IBM themselves produced arguably the first Windows accelerator with the introduction of the 8514 back in 1987 alongside the brand new PS/2 line of computers. These got their performance gains with the inclusion of a separate 'XGA' chip either on the motherboard or on a separate expansion card which was connected to the main VGA card via a pass-through edge connector. They were very expensive cards, however, and not widely adopted.
Orchid and ATI were some of the first manufacturers to release graphics cards optimised for Windows. At the time, typical SVGA cards would redraw the graphical desktop of Windows painfully slowly. Dedicated to '2D' acceleration, the Orchid Fahrenheit 1280 and ATI Graphics Ultra could handle line drawing, shape drawing and filling, and BitBlt operations in hardware, taking the strain off the host PC's CPU. A lot depended on how good the Windows drivers were, but these cards effectively brought a fast graphics coprocessor and fast dual-ported VRAM (video RAM) to the table. This dual-porting meant the graphics coprocessor could write to VRAM at the same time as the RAMDAC could read data. The memory was typically 512 KB or 1 MB in capacity. By comparison with the fastest SVGA cards on the market in 1991, these two typically ran these 2D graphical operations at between 5 and 10 times the speed. The Orchid made use of S3's Carrera 86C911 chip, whereas ATi produced their own clone of the IBM 8514 with their own enhancements added, called the Mach8.
During the year 1992, no less than 10 new accelerator chips were launched. S3 took their 86C911 chip which could only handle up to 16-bit transfers and launched the 86C924 which could handle up to 24-bit colour depth. They also launched the 86C801, 805 and 928 chips which supported 32-bit image transfers and 24-bit colour. The 805 and 928 were optimised to use the new VESA Local Bus (VLB). Meanwhile, ATi released the new Mach32 chip which directly competed with S3's range, offering 32-bit transfers over VLB. Other accelerator chips that hit the market this year were Cirrus Logic's 82C481, Tseng Labs' ET4000/W32, Weitek's 5186 and Western Digital's WD90C31-LR.
With all this competition in the market, prices came tumbling down, though compared to simple frame buffer SVGA cards, you still paid a premium. Typically $300 to $500 would buy you a 1 MB graphics accelerator card. The majority of these accelerator chips still worked on the ISA bus but supported VLB, offering card manufacturers several choices when implementing one of these new accelerator chips. For screen resolutions of 640 x 480 or 800 x 600 in 16 colours, ISA-based cards worked fine. Increase the colours to 256 however, the move to VLB could provide approximately a 3x performance boost in Windows. It was also apparent that VLB card performance was increased further on faster CPUs, showing that the ISA bus became the bottleneck pretty soon as you increased CPU frequency.
3D Acceleration
In the mid 90s, 2D acceleration was a foregone conclusion - every card needed to support Windows, and for that they needed 2D acceleration. 3D gaming was starting to dominate, and with it, the need for true 3D acceleration - that is, hardware support for the methods developers were using to draw and move polygons on-screen. By pushing this technology onto the graphics card it left the CPU to manage the easier tasks.
First generation 3D accelerators implemented rasterization directly in hardware (on the graphics card).
Second generation 3D technology, e.g. Voodoo 2, Rendition V2200, etc, added more rendering effects, still leaving the geometry and lighting to be executed by the computer's main processor.
What Factors Affect Performance?
- Your CPU - Up to certain time period, processor speed mattered more than anything when it came to gaming performance. This was especially the case on 486 and earlier CPUs where the CPU had to do a lot more of the graphics processing, so don't expect your 486 DX-2/66 to run Unreal smoothly just because you bought a Voodoo 2 card. During the early-to-mid 90s we saw the slow ISA bus being replaced by VESA Local Bus and PCI, and graphics 'accelerators' arrived that were able to perform graphical instructions on the card - this meant the processor became less critical to achieving high framerates.
- System RAM - All game code runs through system RAM, so making sure your machine has enough before you look into 3D accelerator cards is very important. These days it is entirely possible to install too much memory (especially in DOS) which can cause problems, so be sure to check my Typical PCs Per Year pages and stick with something that is period-correct.
- Graphics Card RAM - The more RAM a graphics card has, the higher resolution it can support, though in most cases performance is also degraded at these higher resolutions unless you have a very powerful chipset and fast memory bus width to be able to transfer data in out of the graphics card's memory. The type of memory also plays a crucial role here - FPM and EDO DRAM was superceded by VRAM and MDRAM in the early 90s, using similar techniques as we saw with the shift from SDRAM to DDR RAM.
- Driver version/type - Under Microsoft Windows, the graphics card driver and version can play a critical role in ensuring you have fast bug-free gaming. In some cases, Windows itself came with a default driver that supported a certain graphics card, but card manufacturers would often write their own to capture the very best a card could offer in both image quality and performance. For instance, the Diamond Monster 3D II had the best drivers of any Voodoo 2 card, and consequently it ran games faster than all the rest.
An A-Z of 3D Acceleration Terminology
3D API
API stands for application programming interface. It's a collection of routines, or a "cookbook," for writing a program that supports a particular type of hardware or operating system. A 3D API allows a programmer to create 3D software that automatically utilizes a 3D accelerator's powerful features. 3D engines can be very different when you program them at a low level by talking directly to a graphics card's chipset registers and memory, so without an API that offered support for multiple 3D accelerators, it would be hard for a software developer to make their game or application compatible with a lot of cards. Major 3D APIs include Direct3D / Reality Lab, OpenGL, 3DR, RenderWare, 3dfx GLiDE, and BRender.
Alpha Blending
Alpha blending (Alpha Transparency) is a technique which allows for transparent objects. A 3D object on your screen normally has red, green and blue values for each pixel. If the 3D environment allows for an alpha value for each pixel, it is said to have an alpha channel. The alpha value specifies the transparency of the pixel. An object can have different levels of transparency: for example, a clear glass window would have a very high transparency (or, in 3D parlance, a very low alpha value), while a cube of gelatin might have a midrange alpha value. Alpha blending is the process of "combining" two objects on the screen while taking the alpha channels into consideration – for example, a monster half-hidden behind a large cube of strawberry gelatin (hey, it could happen!) would be tinted red and blurred where it was behind the gelatin. "Color Key Transparency" was an alternative method of alpha blending.
Anisotropic Filtering
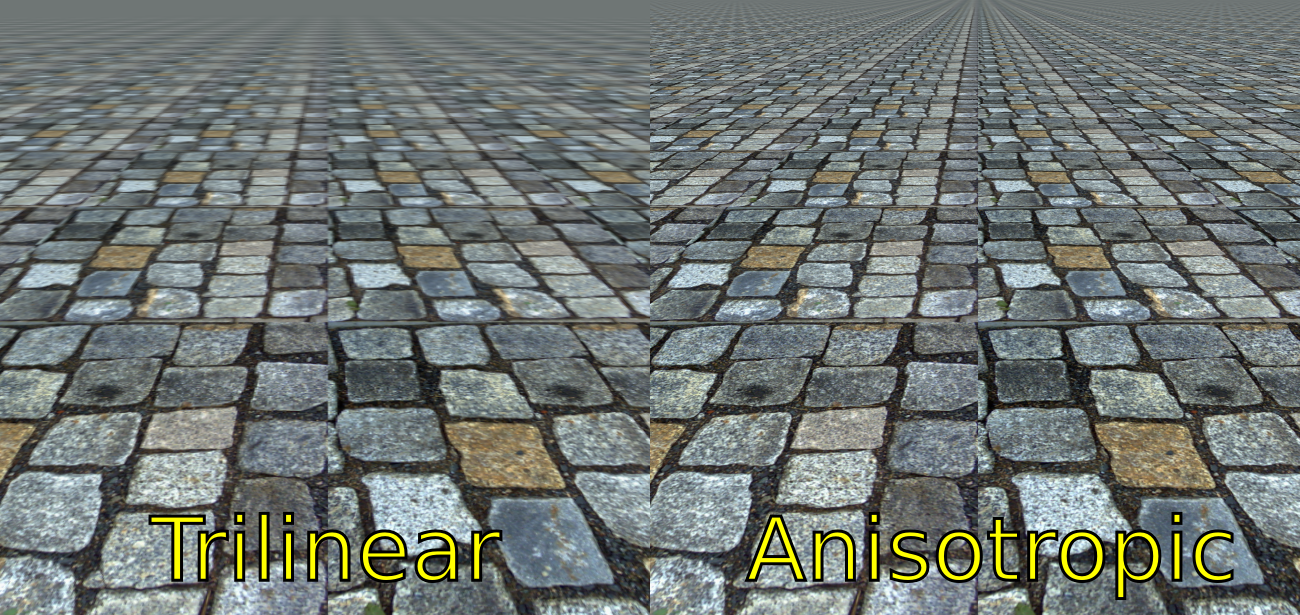
This is a type of texture filtering that models texels (the pixels that comprise a texture map) as ellipses instead of the traditional form of circles. This process results in less "blurring" than bilinear or trilinear texture filtering, leaving textures crisp even at distance.
Anti-Aliasing
A process by which all jagged lines from surfaces are interpolated and smoothed. The result is a more natural-looking image.
Bilinear / Trilinear Filtering
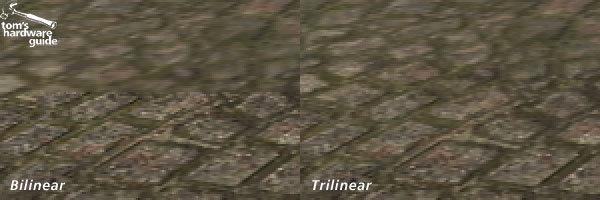
A filtering process that smoothes polygons so they don't look chunky or blocky.
Bump Mapping
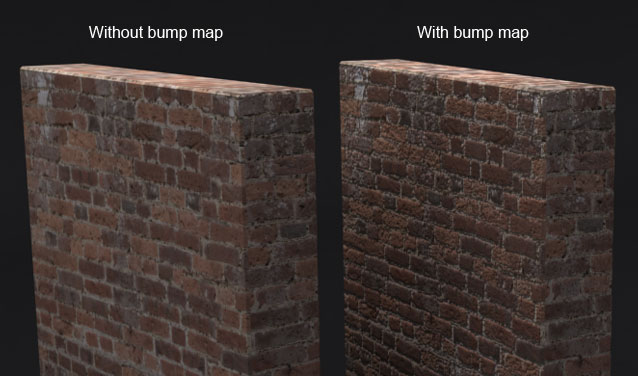
A process by which a surface appears to take on a more 3D aspect (for example, to look bumpy). This technique is very effective and is said to be used for the character's face model in the Edward James Olmos 3D shooter.
Depth Queueing and Fogging
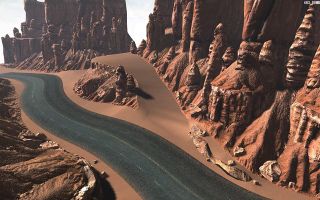
Fogging is just what it sounds like: the more distant limits of the virtual world are covered with a haze. The amount of fog, color, and other particulars are set by the programmer. Fog Vertex was the original form of fogging. This was updated with something called Fog Tables, which reduced the "banding" effect with Fog Vertex.
Depth cueing is reducing an object's color and intensity as a function of its distance from the observer. For example, a bright, shiny red ball might look duller and darker the farther away it is from the observer.
Both of these tools are useful for determining what the "horizon" will look like. They allow the developer to set up a 3D virtual world (for a game, interactive walk-through, and so on) without having to worry about extending it infinitely in all directions, or far-away items appearing as bright points that confuse the user - features can fade away into the distance for a natural effect.
MIP Mapping
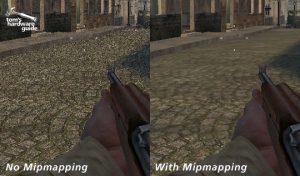
This texture mapping technique uses multiple versions of each texture map, each at a different detail. As the object moves closer to or further from the user, the appropriate texture map is applied. This results in objects with a very high degree of realism. It also speeds processing time by allowing the program to map more simple, less detailed texture maps to objects that are further away.
Multitexturing
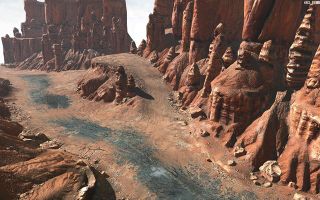
Applying multiple textures on a single surface. For example, in Quake II, multitexturing is used to apply a texture to a surface and then apply a second transparent lighting texture on top of that to "fake" the effects of realtime lighting.
Before
Multitexturing
After
Multitexturing
Perspective Correction
This process is necessary for texture-mapped objects to truly look realistic. It’s a mathematical calculation that ensures that a bitmap correctly converges on the portions of the object that are "further away" from the viewer. This is a processor-intensive task, so it’s vital for a state-of-the-art 3D accelerator to offer this feature. Just as importantly, the 3D accelerator must do this in a robust way in order to preserve realism. The quality of a 3D accelerator’s perspective correction is an excellent overall quality indicator.
Rasterisation
The process by which pixels are drawn on the screen.
Shading and Texture Mapping
Most 3D objects are made up of polygons, which must be "colored in" in some fashion so they don't look like wire frames. Flat shading is the simplest method and the fastest. A uniform color is assigned to each polygon. This yields unrealistic results, and is best for quick rendering and other environments where speed is more important than detail.
Gouraud shading is slightly better. Each point of the polygon is assigned a hue, and a smooth color gradient from point to point is drawn on the polygon. This is a quick way of generating lighting effects -- for example, a polygon might be colored with a gradient that goes from bright red to dark red.
Texture mapping is the most compelling and realistic method of drawing an object. A picture (this can be a digitized image, a pattern, or any bitmap image) is mapped onto the surface of a polygon. A developer designing a racing game might use this technology to draw realistic rubber tires or to place decals on cars.
SLI Configuration
3dfx' Scan Line Interleave arrived in 1998 and allowed for two Voodoo2 graphics cards to be bridged together via a short link cable for a powerhouse gaming setup - essentially SLI was a technology to allow parallel processing. Some high-end setups contain two Voodoo 2 chipsets in SLI on a single board. ATI introduced their flavour of SLI much later (2005), which they called CrossFire.
Trilinear Mip Mapping
To enhance processing speeds, developers will use several different detail levels for each texture. For instance, when you approach a wall in Unreal, at the furthermost point the texture will be a very low-resolution image. As you get closer to the wall the computer then calls up a higher-resolution texture and merges the two. This keeps objects from looking pixelated up-close - remember Doom? Trilinear mip mapping is the use of three of these textures (a far, medium and near texture) so you will notice a smooth transition of a texture as you approach from a distance.
True AGP Support
Hardware that takes advantage of the Accelerated Graphics Port (AGP), enabling faster transfer of information so games can utilise more textures and visual information. In the early days of AGP, motherboard manufacturers scrambled to put an AGP slot onto their latest mobos; yes a compatible AGP card would work, but not all of them fully supported all the features that AGP had to offer.
Vector Quantization (VQ) and Texture Compression
A compression program that reduces the memory requirements for textures by about eight to one, thus improving performance.
Voxel Smoothing
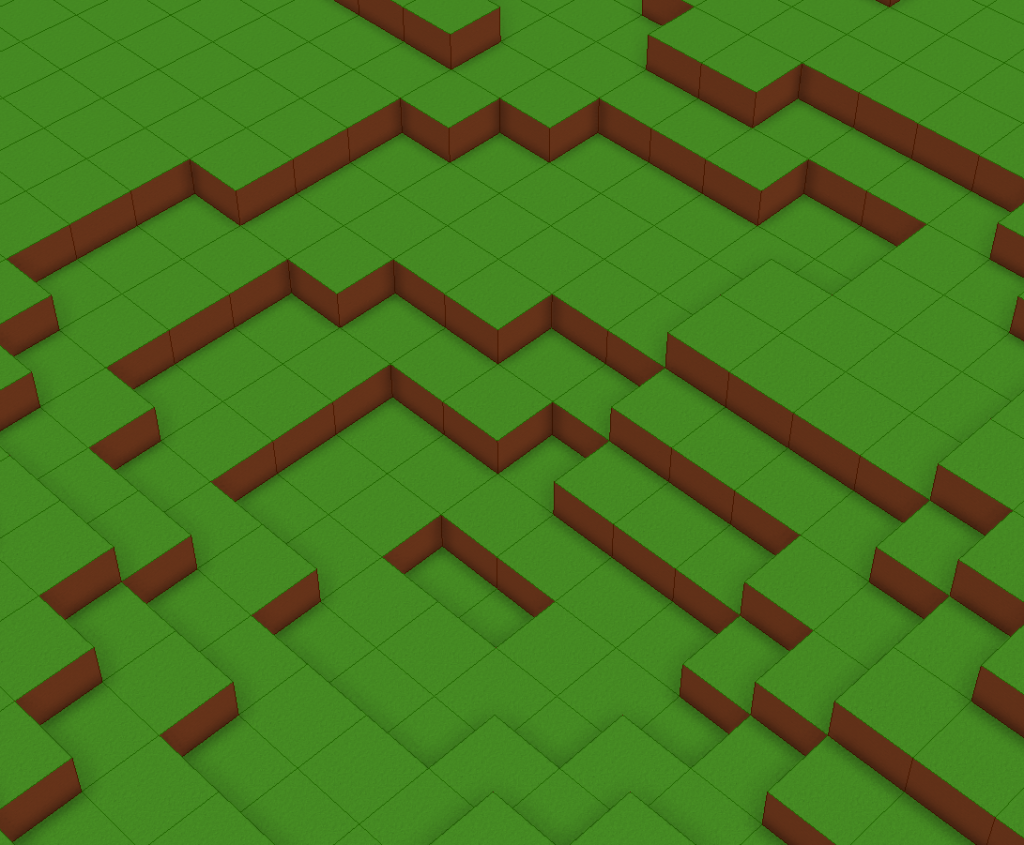
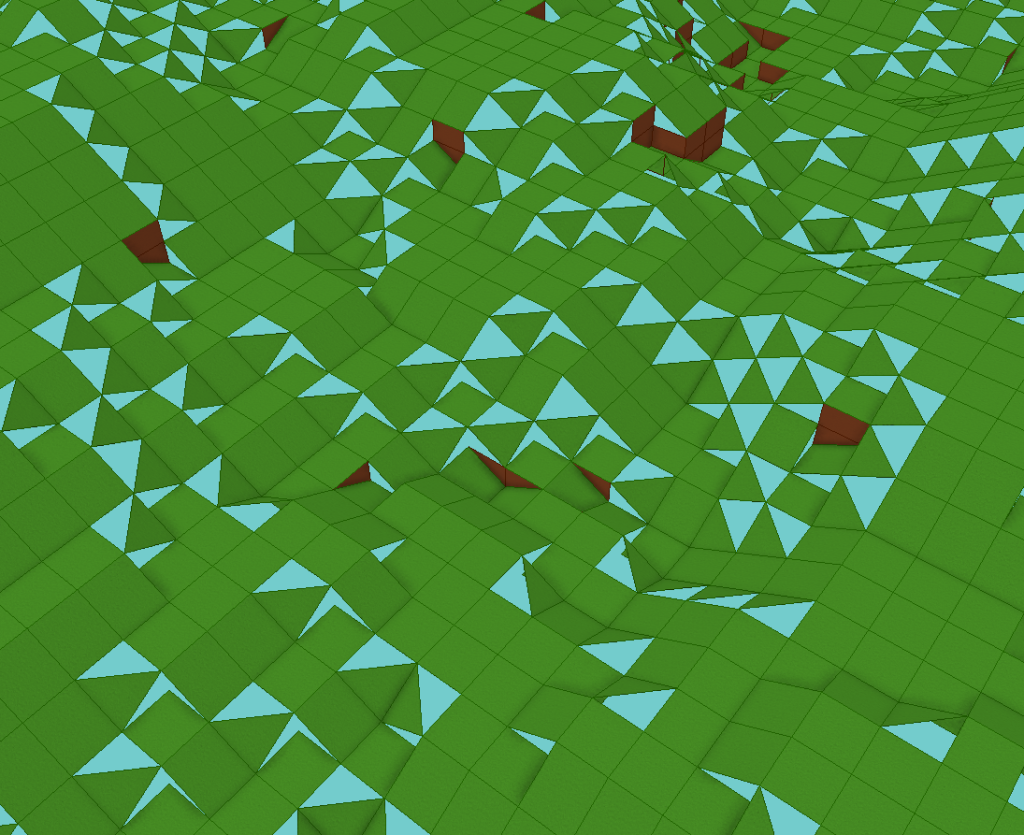
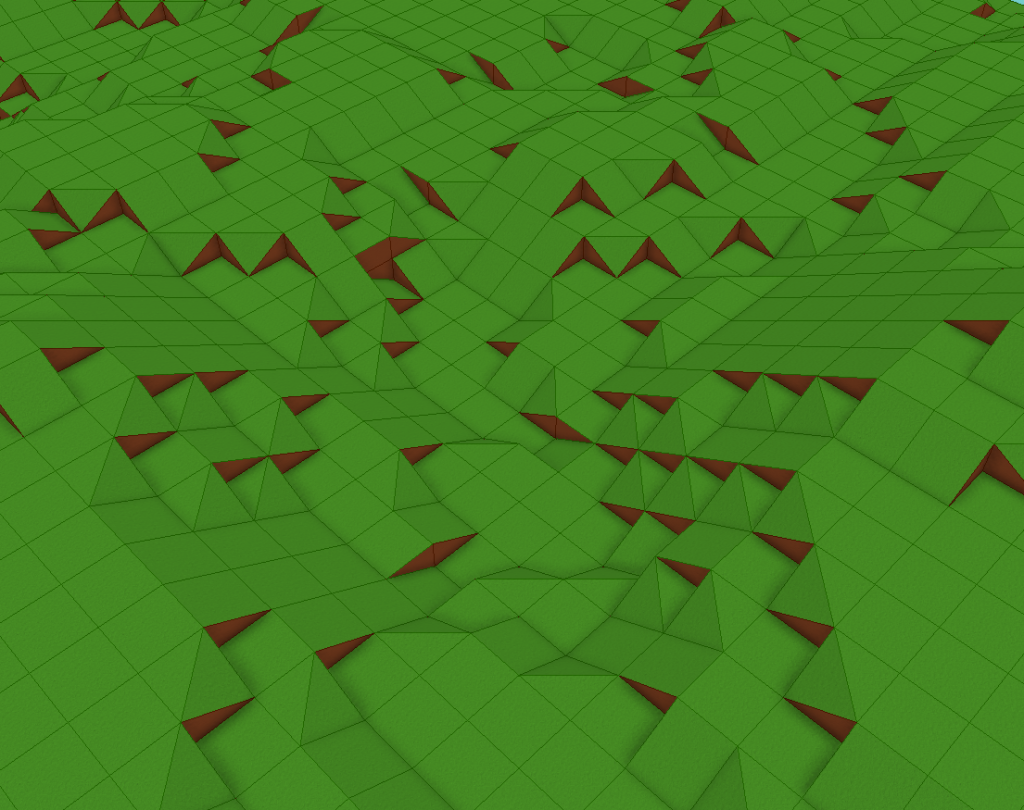
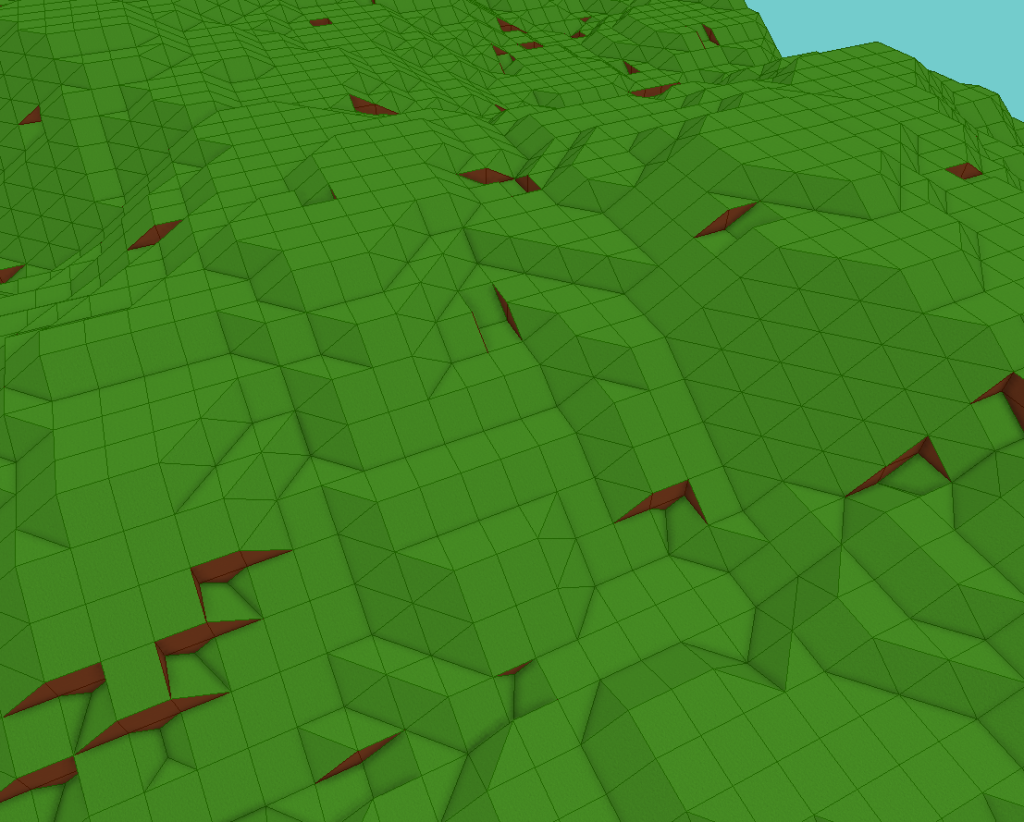
With voxels, everything is a cube. This can make them look blocky and unnatural. Voxel smoothing is the process of smoothing out these cubes through the use of ramps, shims and fill gaps.
Z-Buffering
Z-Buffering is a technique for performing "hidden surface removal" – the act of drawing objects so that items which are "behind" others aren’t shown. Performing Z-buffering in hardware frees software from having to perform the intensive hidden surface removal algorithm.
