Repairing an Osborne 1 - Part 2
13th April 2022
In Part 1 I laid the ground work for the repair of this ancient Osborne 1 computer. We fixed the bad caps in the power supply, got the jittery screen a little bit more sorted, and replaced a duff CPU. In this Part 2, I explore some essential utilities that will help us get a set of CP/M bootable disks ready!
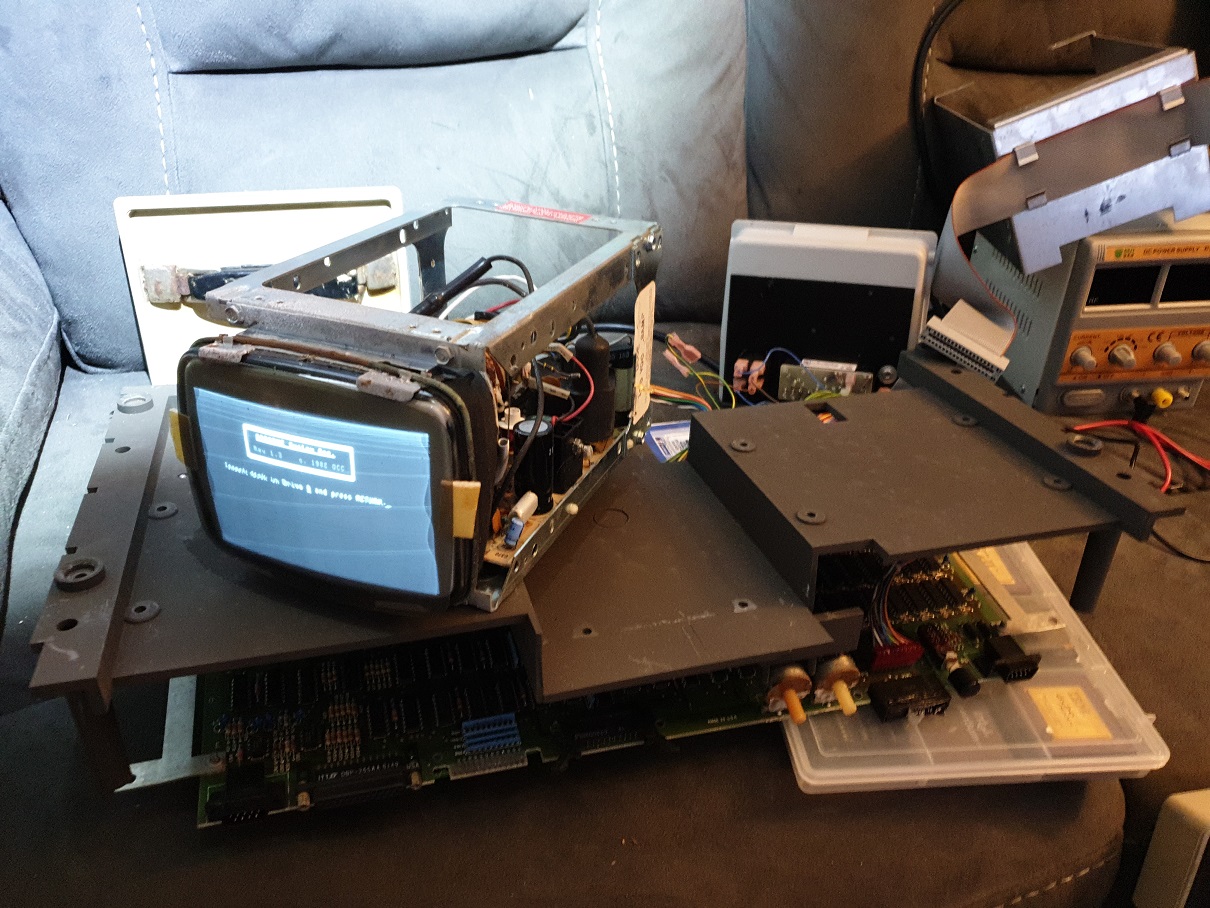
Ignore my lack of clean workspace - too many projects at once!
With my trusty Mitsumi 5.25" low-density floppy drive ready to go, further online research had led me to Dave Dunfield's website at http://dunfield.classiccmp.org/. Dave's site not only hosts disk images that contain bootable operating systems for lots of old computers, but he also provides a bunch of DOS utilities that he developed back in 2012 to write images to disk or read images off disks to store into new image files. I'll be using my retro PC booted into pure DOS 6.22 to run these and hopefully create an Osborne 1-compatible boot disk.
The two utilities I will be using here are:
- TestFDC
- ImageDisk v1.18
The first one, TestFDC is important, as Dave's findings teach us that not all floppy disk controllers are equal. Some simply don't support the necessary speed and format needed to properly write an image. In Dave's readme, "TestFDC evaluates the floppy disk controller in your system to determine how well it performs at single/double density at various data rates. It also tests MFM operation with 128 byte sectors. Many PCs cannot access these disk types. If you plan to use my ImageDisk program to archive and restore non-PC format disks, this program should help you find a PC thats up to the task.".
Running TestFDC in DOS was a simple task. Just run it with testfdc b: with a freshly-DOS-formatted floppy disk in the drive, and away it goes, attempting to write the first 5 tracks on the disk, then attempting to read them back. It does this at 3 different data rates to see if your FDC (floppy disk controller) can cope with writing single-density at low enough speeds (250, 300 and 500 kilobits per second):
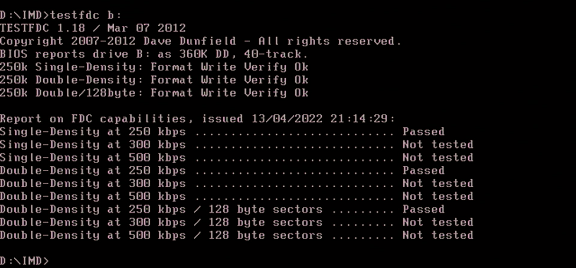
TESTFDC running on my 360 KB DOS floppy drive
I'm not sure what my Retro PC's FDC chip is (it's probably an embedded I2C buried in the SouthBridge of my Gigabyte GA-5AX motherboard), but it passed with flying colours!
I had downloaded a ZIP file from Dave's site containing several single-density .IMD image files, including:
- Osborne 1 CP/M System Disk
- Osborne 1 CP/M Utility Disk
- Osborne 1 CBASIC/MBASIC (Digital Research CBASIC is a BASIC compiler, Microsoft MBASIC is a BASIC interpreter)
- Osborne 1 SuperCalc
- Osborne 1 WordStar
and then I was ready to try ImageDisk v1.18. Before running the imaging utility itself, I used a companion tool called IMDU to get some information on some of the above disk image files:
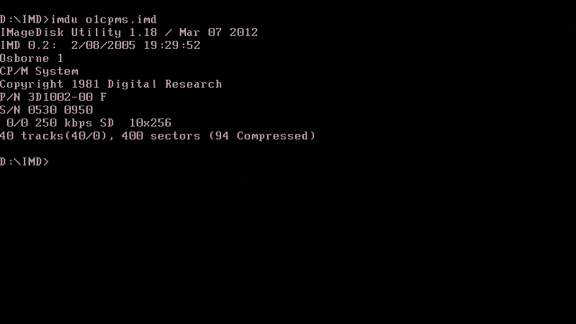
Running IMDU to get info on a .IMD image file
This is very useful to be sure you are using the right disk image for your needs. As you can see, the O1CPMS.IMD image file is the CP/M System disk for an Osborne 1, written using ImageDisk v0.2 back in 2005. Most importantly, it tells us the data rate, density and geometry of the 'disk' held inside the image file. It was written at 250 kbps, is single-density and has 10 sectors per track each of 256 bytes, and a total of 40 tracks.
If I had downloaded the wrong Osborne 1 image file that was double-density, this IMDU utility would have told me it's a double-density image - not suitable for my Osborne 1 with only single-density floppy disk drives!
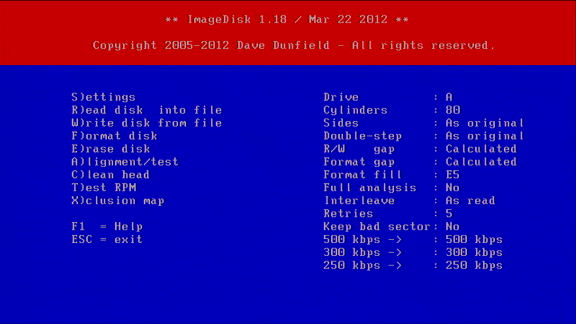
ImageDisk itself is pretty easy to use as it includes all the help pages you would ever need right in the tool itself. I went into 'Settings' and configured the tool to use drive B:, single-sided, and said 'no' to 'Double-step'. Then went to the 'W' option for write image file to disk and chose the O1CPMS.IMD file, which is the CP/M System Disk image.
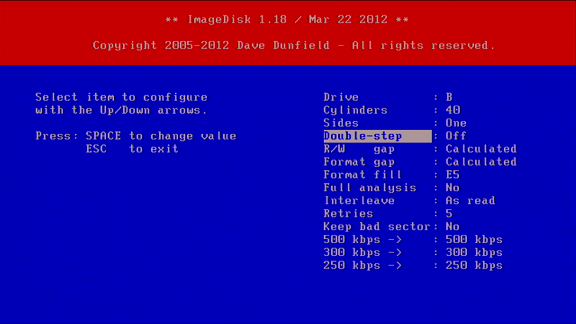
Changing the Settings to single-sided and single-step
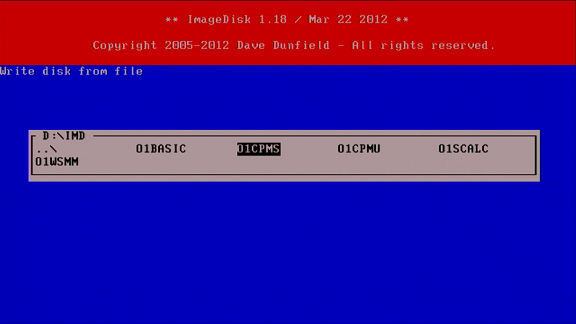
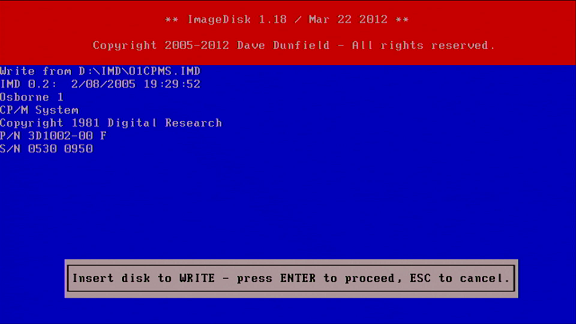
Selecting the Image File to Write

Writing the Image File to the Floppy Disk
Moving back to the Osborne 1, I inserted the newly-imaged floppy disk in 'Drive A' and started the machine...
Head over to Part 3 to find out what happened!

